Nederlands
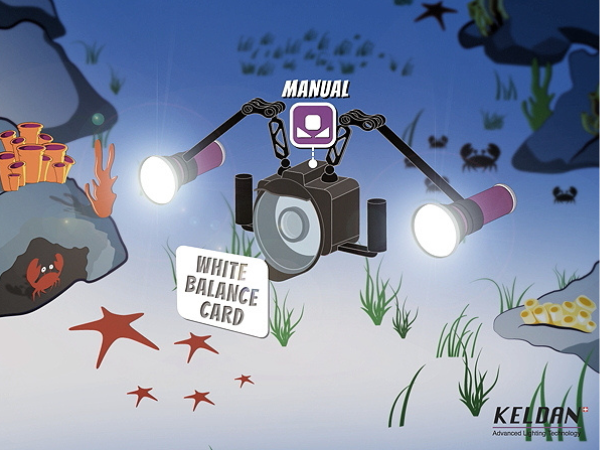
When you shoot underwater photos or videos, you’ll often notice that the colors in your footage don’t look as vibrant as they do in real life. This happens because of how light behaves underwater. Thankfully, there are tools to fix this issue: red filters for your camera and blue (ambient) filters for your lights. In this blog, I’ll explain why these filters are essential, how they work, and how they can dramatically enhance your underwater footage.
Why do colors fade underwater?
When you take photos or videos underwater, you’ll notice that many colors seem to disappear. This is due to light absorption in water. The deeper you go, the more colors fade away:
- Red and orange vanish first, as shallow as 5 meters.
- Yellow and green follow, usually between 10–15 meters.
- Blue sticks around the longest, which is why underwater footage often looks overly blue.
This is where red and blue filters come into play. They help bring back those lost colors, making your footage look more natural.
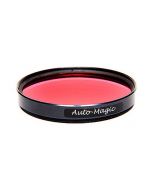
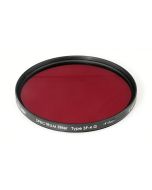
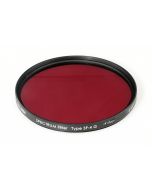
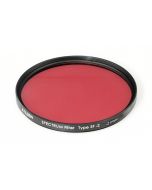
Red filters for cameras
What is a red filter?
A red filter is a tool you attach to your camera lens or port to restore the reds, oranges, and yellows lost in underwater footage. It essentially "adds" red light back into your shots, creating a more balanced and natural color profile.
How does a red filter work?
- Replaces lost reds: Red light is absorbed quickly underwater, but the filter compensates for this, making colors appear richer and more natural.
- Improves white balance: It balances the reds, blues, and greens in your footage, so the colors look realistic.
- Enhances depth and contrast: By correcting the colors, the filter adds more depth and contrast to your images, making them more vibrant.
When should you use a red filter?
- When diving at depths of 5 to 20 meters, where red light is most limited.
- In clear tropical water, where the loss of color is most noticeable.
A red filter can change a boring, blue-looking shot into a bright and colorful view of the underwater world.
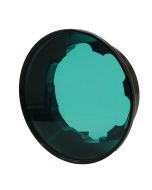
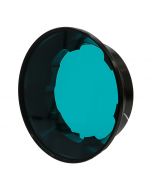
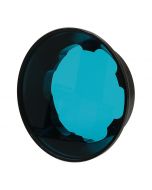
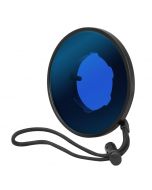
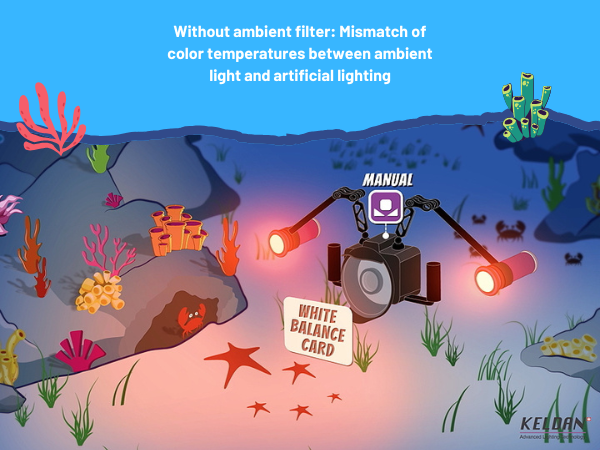
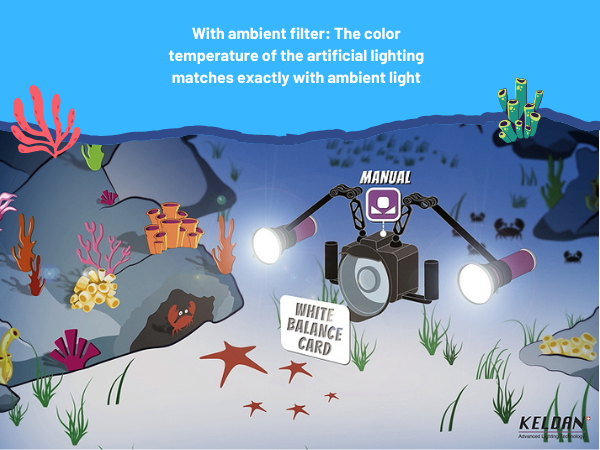
Blue (ambient) filters for lights
What is a blue filter for lights?
A blue filter adjusts the harshness of artificial lighting underwater. Without a filter, your underwater lights might look too unnatural. Blue filters soften the light, blending it with the natural ambient light underwater for a more natural effect.
How does a blue filter work?
It adjusts the light from your underwater video light to match the natural light underwater. This is especially useful in shallow water or when there is still natural light.
When should you use a blue filter?
- When diving in tropical clear blue water areas with natural light but using additional lights to highlight your subject.
The power of combining red and blue filters
When you use a red filter for your camera (to adjust the background colors) and a blue filter for your lights (to soften foreground lighting), you create a perfect balance between natural and artificial light. This ensures your footage has:
- Realistic color tones.
- Vibrant backgrounds.
- Well-lit, natural-looking subjects.
Together, these filters let you capture underwater scenes as they truly are, full of life and color.
Tips for using filters in underwater videography
Mastering white balance
A white balance card is a must-have for setting your camera's color temperature correctly. Automatic white balance often fails underwater, so a white or gray reference object helps your camera adjust to the lighting conditions.
How to use a white balance card underwater
- Find a neutral object: Use something white or gray as your reference. Dead coral or white or gray-colored sand works well if you don’t have a dedicated card.
- Position it correctly: Place the card near your subject, ensuring it’s lit by the same light source and at the same depth and distance.
- Adjust your camera: Use the card to manually set your white balance. This minimizes the blue and green tones, making colors look more natural.
Pro Tip: Recalibrate your white balance at different depths to keep your colors accurate as lighting conditions change.
FAQs about underwater filters
1. Can I use a red and blue filter at the same time?
Yes! In fact, it’s recommended. The red filter corrects background colors, while the blue filter balances your artificial lighting. Together, they create stunning, balanced footage.
2. What about green water?
In green water, a magenta filter works better than a red filter. It compensates for the green tones, ensuring a natural color balance. Note: You’ll need some ambient light for this filter to work effectively. In places like the Netherlands, it’s better to rely only on artificial lighting due to limited ambient light.
3. Can’t I fix colors in post-processing?
While you can adjust colors digitally, using physical filters is faster and produces more natural results during filming.
Final thoughts
Red and blue filters are game-changers for underwater videography. They help restore the vibrant colors lost underwater and balance your artificial lighting, making your footage look more professional and lifelike. Paired with manual white balance adjustments, these filters let you capture the underwater world in all its colorful glory.
If you’re serious about underwater videography, investing in these filters is a no-brainer. They’re your ticket to creating stunning, true-to-life footage.
![Magic AutoMagic 50x50mm blue water filters 3-pack [am3t]](https://www.uwcamerastore.com/media/catalog/product/cache/a1e8b3e99aca28c73ff021371a2f00f4/m/a/magic-filter_1.jpg)
![Magic AutoMagic 50x50mm blue water filter single [am1t]](https://www.uwcamerastore.com/media/catalog/product/cache/a1e8b3e99aca28c73ff021371a2f00f4/m/a/magic-filter.jpg)