
 Nederlands
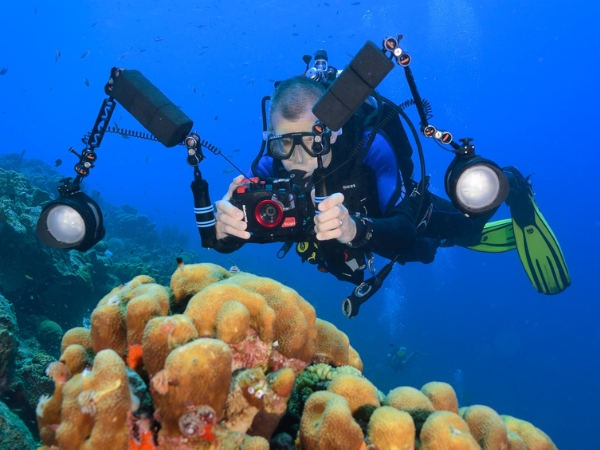
Capturing photos or videos underwater is an amazing way to explore and share another world, but it can be quite challenging. A balanced camera setup not only makes your dive easier but also more enjoyable. In this blog, I’ll walk you through how to weigh your camera setup and pick the perfect buoyancy arms step by step. Let’s dive in!
Why is Balancing Your Setup Important?
Imagine this: you're floating effortlessly in the water, your camera feels like an extension of yourself, and you have full control. Sounds ideal, right? A well-balanced setup helps you achieve this. Here’s why:
- Less hassle: No more struggling with a sinking or floating camera.
- Smoother shooting: A stable camera helps to create better-quality images and videos.
- More fun: Less stress means you can focus on the moment and your creativity.
Step 1: Gather Your Complete Setup
Before we get started with weighing, ensure you’ve got everything you’ll use during a dive:
- Your camera and underwater housing
- Dome or flat port
- Lights or strobes
- Clamps, arms, and accessories like wet lenses
Tip: Use exactly what you plan to take on your dive. Even one extra item can affect the balance.
Step 2: Test Your Setup in Shallow Water
Here’s where the fun begins: Testing! You’ll need a bath, bucket, a pool, or another testing spot. Follow this step:
- Assemble everything: Set up your camera as if you’re ready to dive.
Step 3: Determine the Buoyancy You Need
To figure out the buoyancy your setup requires:
- Use a luggage scale: Submerge your camera and measure the weight in water.
- Aim for balance: For optimal performance, aim for a neutral or slightly negative balance (no more than 200-300 grams negative).
Pro Tip: Write these measurements down. They’ll come in handy, especially when you make changes to your setup later.

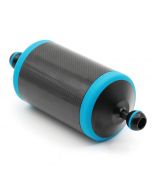
Step 4: Pick the Perfect Buoyancy Arms
Buoyancy arms come in various styles. Here’s how to choose the right ones:
- Buoyancy specs: Check the specs to ensure the total buoyancy matches your calculations.
- Flexibility: Choose arms that are easy to adjust and compatible with your lighting system.
- Durability: Look for arms made from high-quality non-compressible foam or carbon fiber.

Step 5: Test, Test, Test!
Almost there! Attach your buoyancy arms and test your setup again:
- Is the balance neutral or slightly negative?
- Does everything stay stable when you let it go?
- No tilting?
If it’s perfect, you’re good to go! If not, adjust the arms or add ballast as needed and keep testing.
Practical Tips for Adjusting Your Setup
- Changing setups? Weigh individual accessories like wide-angle or macro ports separately.
- Stay flexible: Adjustable float arms are a great option for different setups.
- Salt vs. freshwater: Saltwater offers slightly more buoyancy than freshwater. While this difference is small, you don’t need to balance your setup specifically for one or the other.
Balancing Wet Lenses: What You Need to Know
Using wet lenses? Balance is even more critical! Did you know that wet lenses are naturally negatively buoyant? Here’s how to handle that:
Why Are Wet Lenses Negatively Buoyant?
Unlike dome ports, wet lenses don’t have a large air volume, making them heavier underwater. Popular lenses like the AOI UWL-09 PRO can be paired with special buoyancy collars to solve this.
Tip: Using a Nauticam WACP or WWL-C? Good news! These already have built-in float collars to neutralize weight underwater.

Macro Ports and Balance: A Unique Challenge
Macro ports are a different story. They have less air volume and tend to sink, especially when you add flip holders or diopters. This imbalance can make shooting tricky.
Solution: Use a float belt! Brands like Stix offer adjustable float belts with 10–12 buoyancy modules to lighten your macro port and keep your camera balanced.

Conclusion
A well-balanced camera setup transforms underwater photography, ensuring smooth handling and precise control. You’ll spend less time adjusting and more time capturing those perfect shots.
Have questions about your underwater camera or float arms? Reach out to us! Let’s make sure your camera is ready for your next adventure.


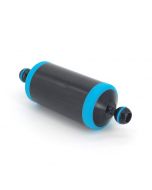

![Stix Float belt [SX-FB10]](https://www.uwcamerastore.com/media/catalog/product/cache/a1e8b3e99aca28c73ff021371a2f00f4/s/x/sx-fb10.jpg)
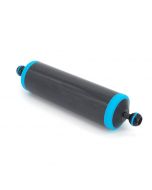
![Stix large float for strobe arm [SX-FUL2]](https://www.uwcamerastore.com/media/catalog/product/cache/a1e8b3e99aca28c73ff021371a2f00f4/s/x/sx-ful2.jpg)
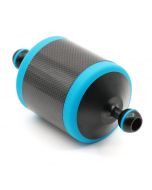
![Stix jumbo float for strobe arm [SX-FUL3]](https://www.uwcamerastore.com/media/catalog/product/cache/a1e8b3e99aca28c73ff021371a2f00f4/s/x/sx-ful3.jpg)
![Stix Jumbo Float belt [SX-FB12]](https://www.uwcamerastore.com/media/catalog/product/cache/a1e8b3e99aca28c73ff021371a2f00f4/s/x/sxfb12.jpg)
![Carbonarm floating arm buoyancy 344g - 22cm [AR7022]](https://www.uwcamerastore.com/media/catalog/product/cache/a1e8b3e99aca28c73ff021371a2f00f4/c/a/carbonarm-ar7022_1_b.jpg)
![Carbonarm floating arm buoyancy 900g - 32cm [AR7032]](https://www.uwcamerastore.com/media/catalog/product/cache/a1e8b3e99aca28c73ff021371a2f00f4/a/r/ar7032.jpg)
![Carbonarm floating arm buoyancy 200g - 32cm [AR4032]](https://www.uwcamerastore.com/media/catalog/product/cache/a1e8b3e99aca28c73ff021371a2f00f4/a/r/ar4032.jpg)


